

Flag Guide
Flag Stitching Techniques: Hemming, Reinforcement, and Header Construction
Nov
Why Sewing Decides How a Flag Performs
Two flags can be printed on identical fabric and look completely different on a pole a season later. The difference is rarely the printing — it is the sewing. Seams carry the load in wind, control how the fabric drapes, and determine whether the fly end stays square or starts to ripple and fray. Good flag stitching techniques are quiet: you only notice them when they are missing.
This guide covers the three parts of construction that matter most — hemming, reinforcement, and header work — plus the finishing steps that happen after the machine stops.
Stitch Types and Thread Selection
Most construction decisions start with two questions: which stitch, and which thread.
Lock stitch
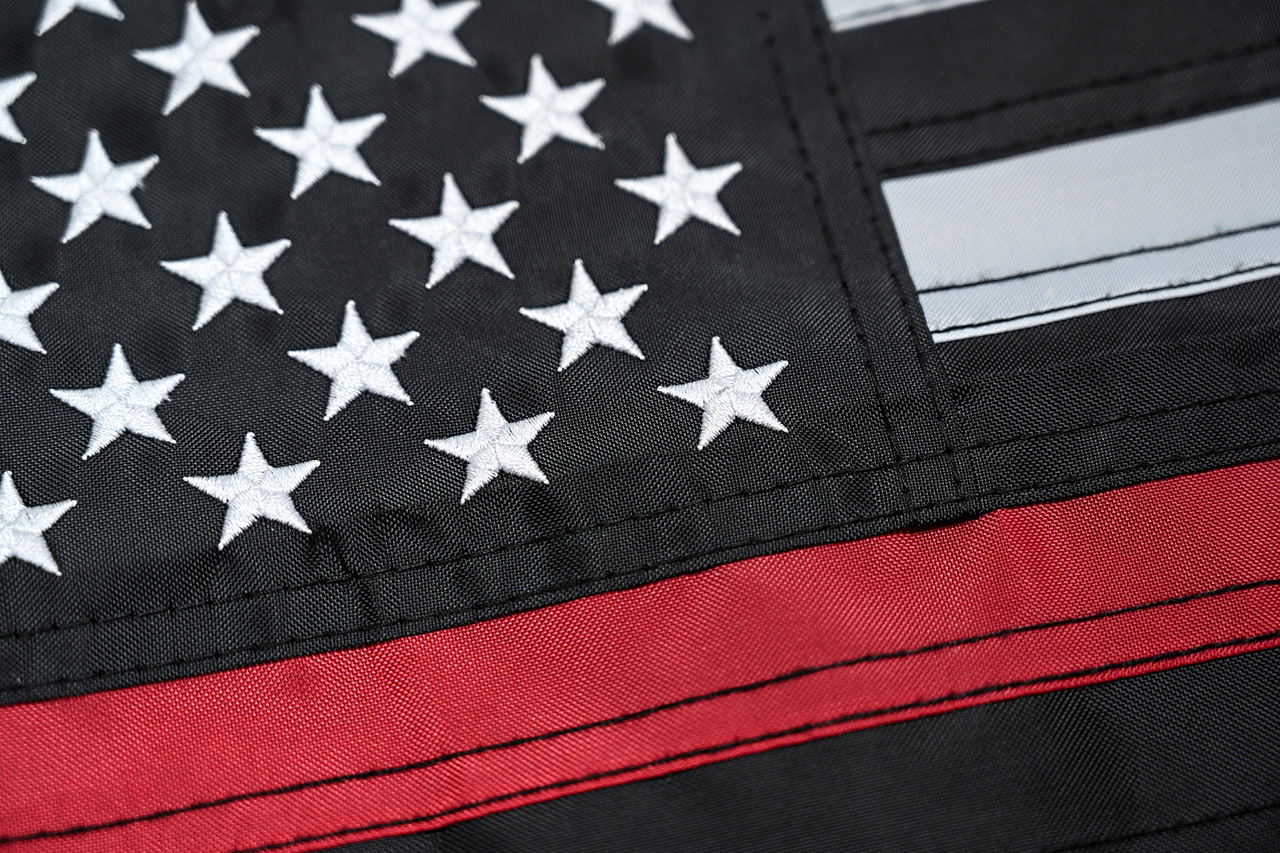
The workhorse for flag seams. Strong, tight, and consistent, it is the standard choice for hems and headers on woven and knitted polyester. Two rows of lock stitching down a hem give noticeably more resilience than one, and this is where many low-cost flags cut corners.
Chain stitch
Flexible and quick, chain stitch absorbs movement well but can unravel if one end is broken. It shows up occasionally in temporary or low-stress seams rather than load-bearing ones.
Zigzag and overlock
Used along cut edges and on stretch-prone knits, these stitches contain fraying and keep a raw edge from traveling. They are a finishing aid, not a substitute for a real hem.
For thread, bonded polyester is the practical choice for outdoor flags: it holds up to moisture and sunlight better than cotton and keeps its tension in changing weather. Heavier denier thread suits larger flags and heavier fabrics, while a finer thread keeps small indoor and hand-held flags looking clean.
Flag Hemming: Matching the Hem to the Edge
Not every edge on a flag does the same job, so hemming should not be uniform. Flag hemming is a matter of matching width and stitch rows to the load each edge carries.
- Hoist edge — the side that attaches to the pole. It is usually enclosed in the heading rather than hemmed separately.
- Top and bottom hems — a double-fold flat hem, typically one or two rows of stitching, sized in proportion to the flag.
- Fly end — the highest-stress edge. A double-fold hem with additional stitch rows and a wider fold is the usual approach for outdoor flags.
- Fringed edges — on ceremonial and indoor flags, fringe should be sewn into the seam so the trim and the flag share the load instead of pulling on separate stitches.
The wider the hem and the more stitch rows it carries, the more material there is resisting a tear. Both should scale with flag size and expected wind exposure — a small hand flag and a large outdoor flag should not share the same hem spec.
Reinforcement: Protecting the Points That Fail First
Flags almost never fail in the middle. They fail at the fly corners and around the grommets.
- Fly-end reinforcement — an extra strip of fabric or a band of dense stitching across the fly end spreads wind load over a larger area.
- Corner triangles — triangular reinforcement patches at the fly corners add material exactly where flutter stress concentrates.
- Heading reinforcement — a turned-back or doubled heading gives grommets more fabric to grip, which reduces the chance of metal pulling through.
- Grommet setting — brass and stainless steel grommets behave differently in coastal and industrial environments; the choice should match where the flag will fly.
Header Construction: Where the Flag Meets the Pole
The header is the interface between your flag and your hardware, and it should be chosen with the mounting system in mind.
Canvas heading with grommets
The most common outdoor configuration. A sturdy fabric heading runs along the hoist with brass or stainless grommets spaced to suit the pole and rope setup. It suits halyard-mounted poles and outdoor exposure.
Pole sleeve
A fabric sleeve sewn along the hoist slides over a pole or staff. Common on hand-held, garden, and indoor display flags, it keeps the flag aligned without clips or rope.
Rope thimble and D-rings
For larger flags and heavier hardware, a rope sewn into the heading with a thimble, or metal D-rings, distributes load more evenly than grommets alone.
Loops and tabs
Quick-release tabs make frequent mounting and removal easier — useful for retail displays and event use.
Finishing Steps After Sewing
The last stage separates a tidy flag from a rough one. Synthetic fabric edges are usually heat-sealed or hot-knife cut before hemming to reduce fraying. Loose threads are trimmed, seams are checked for skipped stitches, grommets are tested for a firm set, and the flag is measured for square before folding and packing. Small details, but they are the difference between a flag that hangs flat and one that fights the pole.
Matching Flag Finishing Methods to the Job
Flag finishing methods should follow use, not price alone. An indoor ceremonial flag benefits from clean flat hems and optional fringe. An everyday outdoor flag needs a reinforced fly end and a solid grommeted heading. A flag on an exposed coastal site calls for heavier thread, wider hems, and corrosion-appropriate hardware. Matching the specification to the environment is the most reliable way to get value from a flag order.
Questions Worth Asking a Supplier
- How many rows of stitching are used on the fly-end hem?
- Is the fly end reinforced, and how?
- What thread and grommet material are standard?
- Can the header be changed to suit my pole or mounting hardware?
- Are edges heat-sealed before hemming?
Ask these before you order, and the flag stitching techniques behind your flag will be clear rather than assumed — which is exactly how a good flag should be built.
Email: flagswin@flag-win.vip
WhatsApp: +86 13031678795
Facebook: https://www.facebook.com/StarFlagFactory/
Alibaba.com: https://wfqyflag.en.alibaba.com/
