

Industry Trends
Flag Inspection Checklist: 8 Steps to Verify Your Order on Arrival
Oct
Flag Inspection Checklist: 8 Steps to Verify Your Order on Arrival
A flag can look fine in a photograph and still disappoint you the moment it is raised on a windy day. The difference usually comes down to details: a hem that was stitched too close to the edge, a grommet set off-center, or a color that drifts from what you approved. Nothing catches those issues faster than a consistent inspection routine performed the day the shipment lands.
This flag inspection checklist walks you through eight steps, in the order you should perform them. It works whether you are a distributor receiving a pallet of stock designs or a business unboxing a single custom run. Set aside a clean, well-lit table, keep your approved artwork and purchase order nearby, and work through the list before you sign anything.
Step 1: Verify the Shipment Before Opening Anything
Start outside the cartons. Compare the number of boxes on the dock against the packing list, then check that each label shows the correct purchase order number, item codes, and quantities. Look for crushed corners, water staining, or tape that has been cut and re-sealed.
- Box count matches the packing list
- PO number and item codes on every carton label
- No signs of moisture, compression, or transit damage
If a carton looks compromised, photograph it before opening and note it on the delivery receipt.
Step 2: Inspect the Fabric
Unfold one unit from each item and hold it up to a light source. You are looking for consistency — an even weave with no thin patches, pinholes, or slubs that distort the surface. Run your hand across the face; the hand-feel should be uniform from edge to edge. For printed polyester flags, also check that the fabric has not picked up creases or shine marks from packing.
Step 3: Check Color Against Your Approved Reference
This is where a flag order QC process earns its keep. Place the flag beside the approved artwork or physical color reference under neutral daylight, not warm warehouse lighting. View it from the front and from the reverse to judge how much the image shows through on lighter areas. Check that borders, seals, and fine lettering sit where they should, with no bleed between adjacent colors and no shift at the seams.
Step 4: Examine Stitching and Finishing
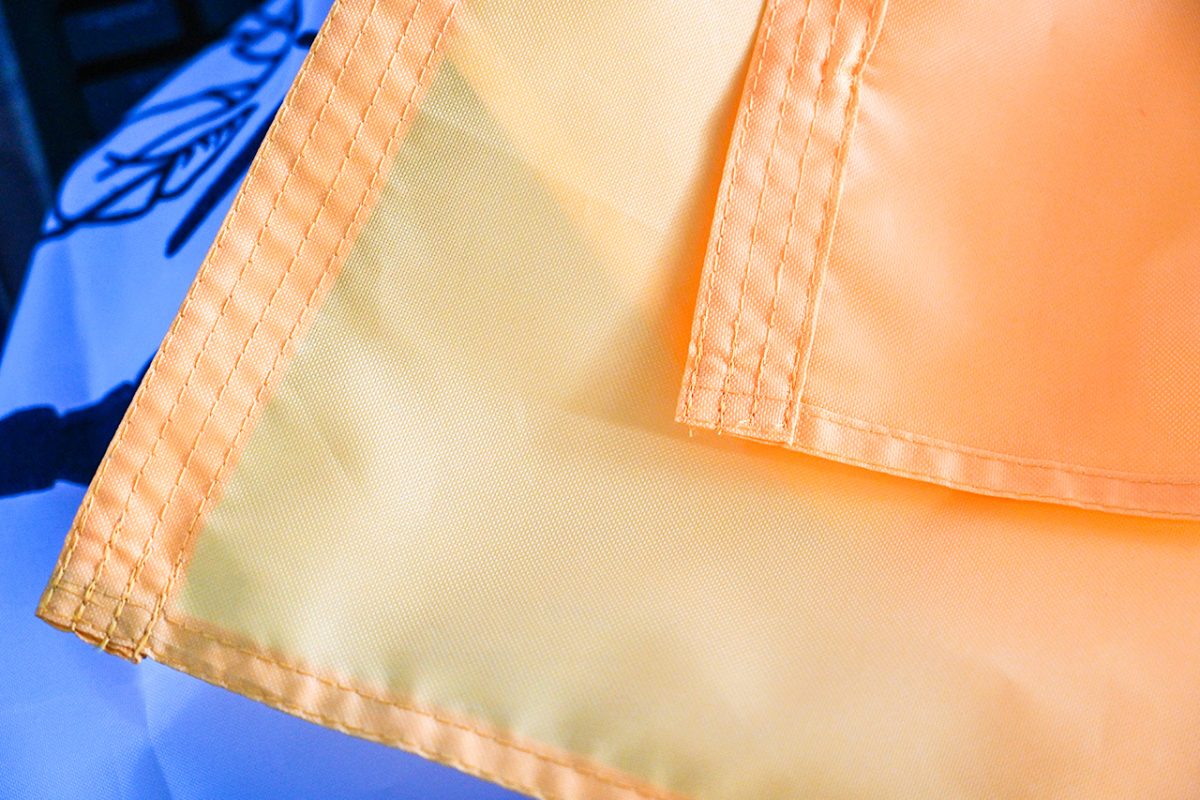
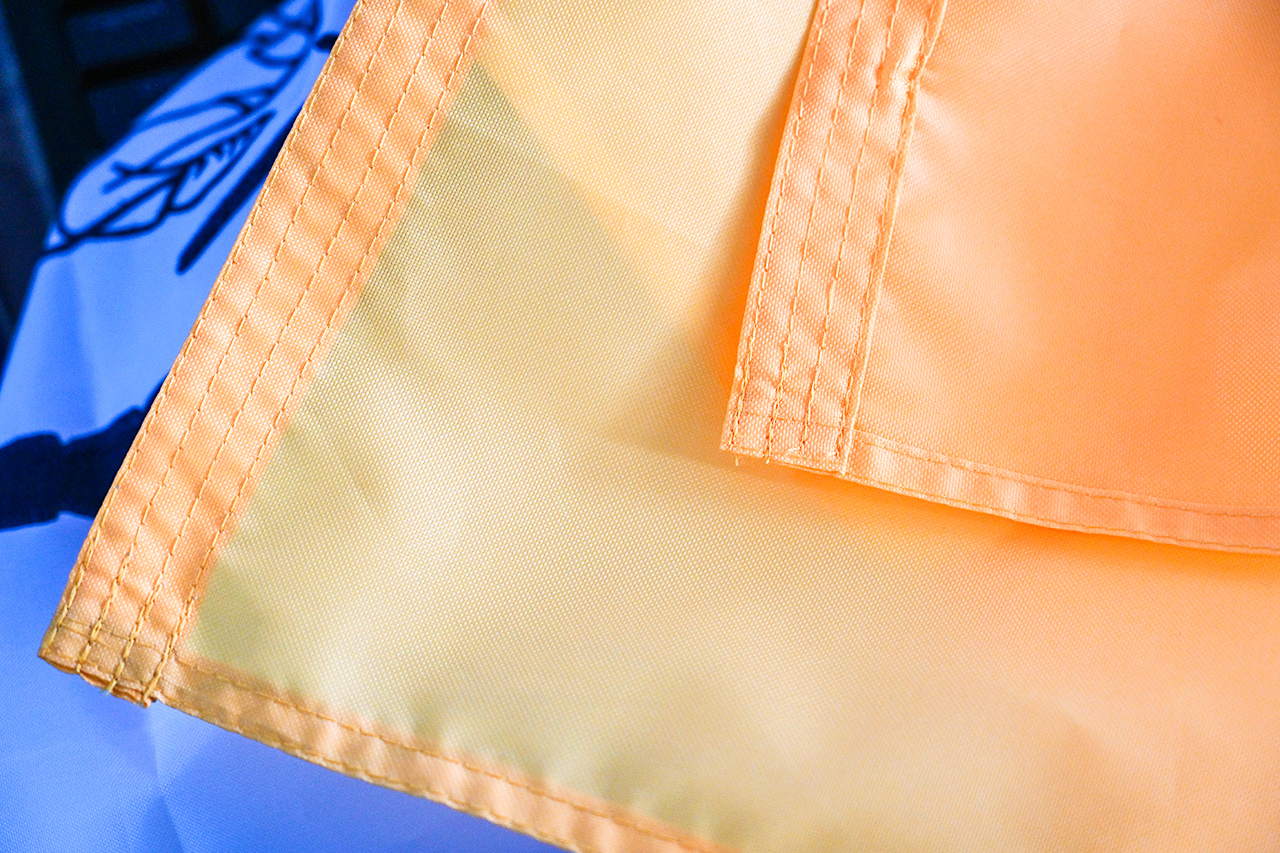
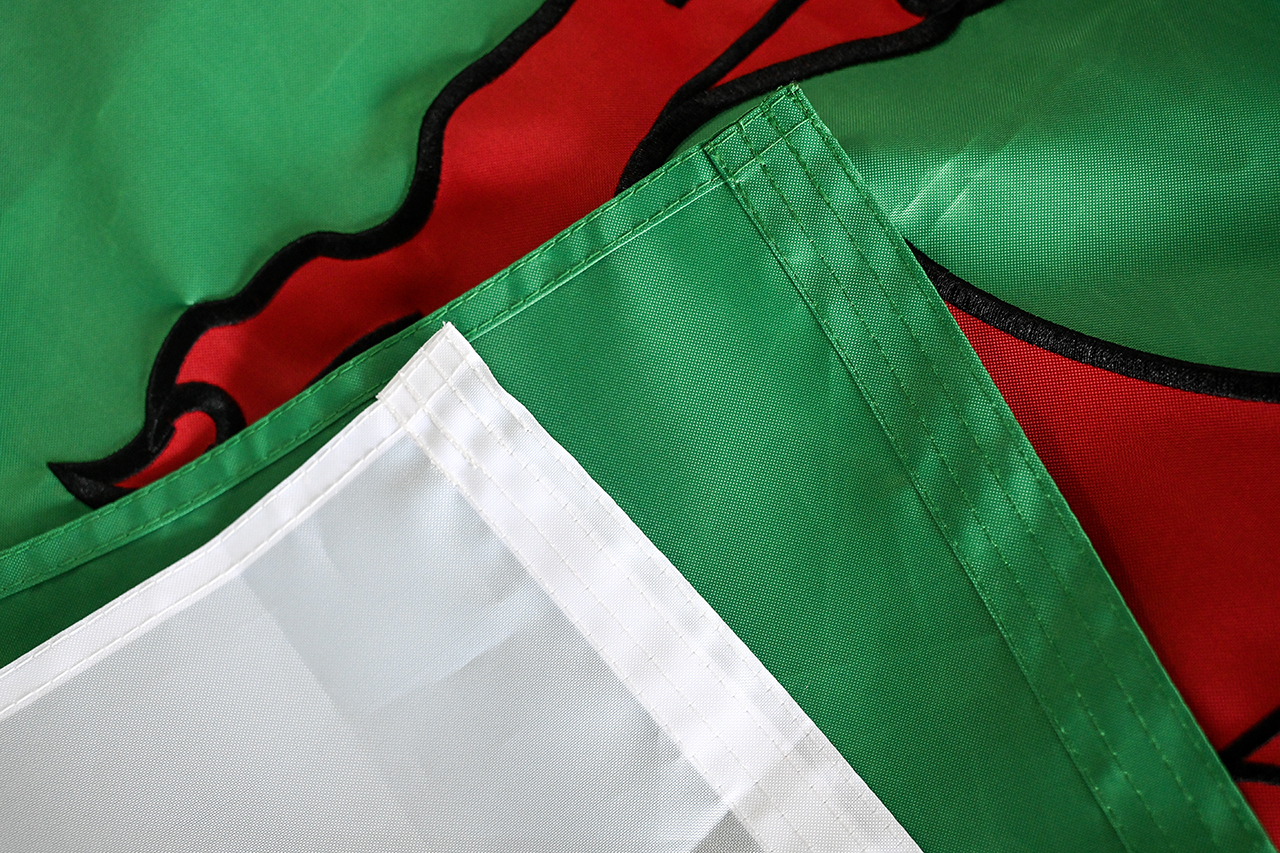
Turn the flag inside out and inspect every seam. Stitch length should be regular, thread tension even, and the fly end — the edge that takes the most punishment in wind — should have a reinforced, multi-row finish. Confirm the hem depth is consistent along all four sides and that no raw edges are exposed.
- No loose threads, skipped stitches, or puckering
- Fly-end hem reinforced and straight
- Corners square, with reinforcement where specified
- Header tape or sleeve attached evenly
Step 5: Inspect Hardware and Attachments
Grommets should be evenly spaced, firmly set, and free of burrs or sharp edges that could chafe rope. Check the finish for scratches or uneven plating. If your order uses a pole sleeve, rope, clips, or snap hooks, confirm each is present, correctly sized, and securely attached.
Step 6: Measure Dimensions and Shape
Lay the flag flat and measure width and height at more than one point. Confirm the finished size matches the specification, allowing for normal seam tolerance. Check that the opposite edges are parallel and the corners are square — a flag cut slightly out of true will hang with a visible lean.
Step 7: Reconcile Quantity and Assortment
Count every unit, not just the top layer. Match counts to the packing list item by item, and confirm that sizes, designs, and hardware options are distributed as ordered. Mixed assortments are the most common source of shortfall, so count each variant separately and note it.
Step 8: Do a Set-Up Test and Record the Results
Mount one sample of each design on a pole or frame and view it from a short distance — this is how you catch distortion, print alignment problems, and hems that curl. Photograph the sample flat and mounted, then file the images with the packing list and inspection notes. Doing this every time you receive a flag order builds a reference set you can compare against future shipments.
If Something Does Not Pass
Do not distribute or install the affected units. Keep them in their original packaging, photograph the defect next to a tape measure or the packing list, and quote the PO number and item code in your message to the supplier. Report issues promptly — most resolution windows close quickly after delivery, and a clear photo set speeds up any replacement or credit.
Print this checklist and keep a copy at your receiving station. A twenty-minute review on arrival protects your reputation far better than discovering a problem on the day a flag is due to fly.
Email: flagswin@flag-win.vip
WhatsApp: +86 13031678795
Facebook: https://www.facebook.com/StarFlagFactory/
Alibaba.com: https://wfqyflag.en.alibaba.com/
