

Industry Trends
Flag Inspection Checklist: An 8-Step Walkthrough for Receiving Your Order

Oct
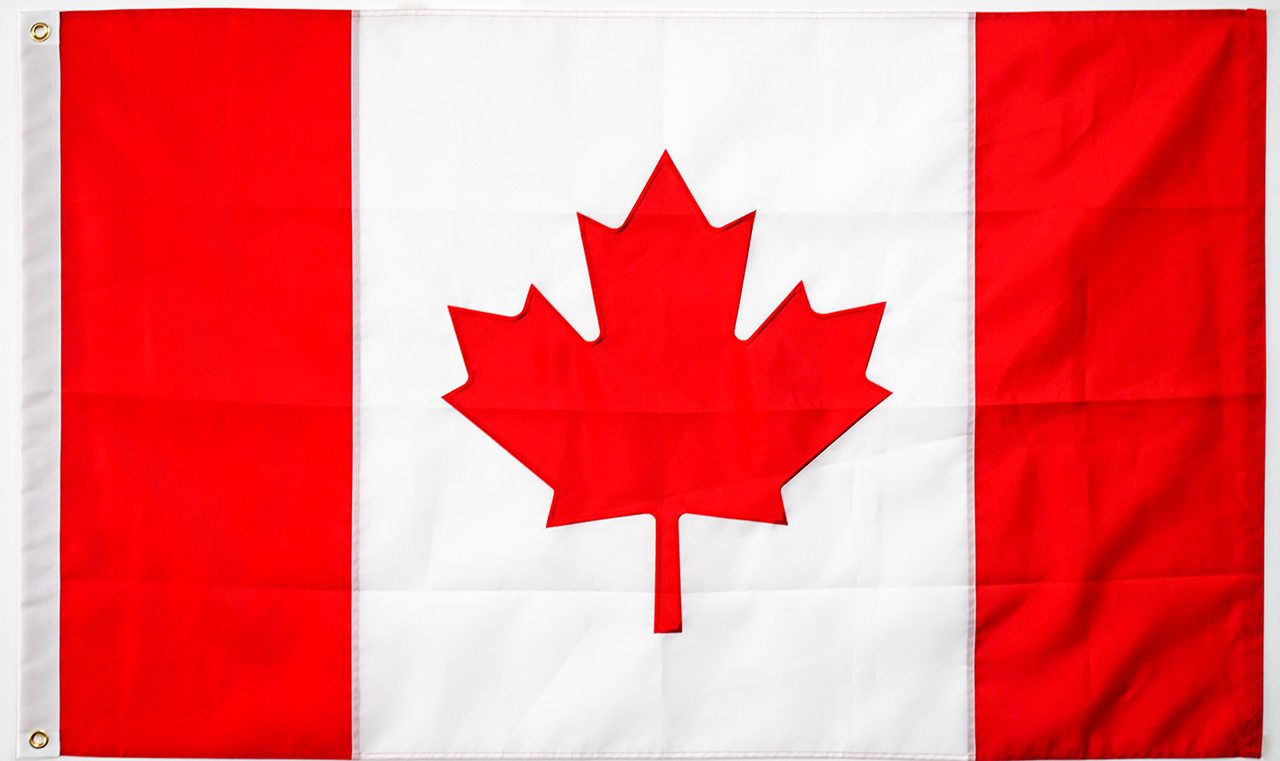
Whether you are a distributor stocking a product line, a school replacing stadium flags, or a business ordering branded banners, the moment your shipment arrives is your best chance to catch problems. Once flags are unpacked, hoisted, and put into service, it becomes much harder to separate a manufacturing issue from normal wear. This flag inspection checklist walks you through eight steps in the order you should perform them, so you can document findings clearly and raise any concerns with your supplier while the shipment is still fresh.
The 8-Step Flag Inspection Checklist
Step 1: Inspect the Packaging Before You Open It
Start outside the carton. Look for crushed corners, water staining, punctures, or tape that has been cut and re-sealed. Photograph any external damage before opening, because carriers and insurers usually require evidence at this stage. Inside, check that flags are bagged or boxed individually and that nothing has been compressed against a hard edge. If packaging damage is significant, note it on the delivery receipt before signing.
Step 2: Count and Match Against Your Order
Lay everything out and compare it line by line with your purchase order and the packing list. Confirm the quantity of each design, the size, the finish type (header and grommets, pole sleeve, or rope and toggle), and the material specified. Missing items and swapped sizes are the two most common discrepancies when receiving a flag order, and both are easiest to resolve on day one.
Step 3: Evaluate the Fabric
Unfold each flag and hold it up to daylight. You are looking for consistent opacity, an even weave, and no thin patches, slubs, or visible pinholes. Run your hand across the surface to feel for a uniform finish. Compare the hand feel of the shipment against any sample or previous order you still have on hand — this is the simplest form of flag order QC and catches material substitutions quickly. Also check that the flag has been cut on the grain rather than diagonally, which can cause a flag to hang crookedly later.
Step 4: Review Printing and Color
Spread the flag flat on a clean, neutral surface. Check that lines are crisp, text is legible at a normal viewing distance, and no ink has bled into lighter areas. For multi-flag orders, lay several units side by side and compare them under the same light — panels from different print runs should read as the same color to the eye. Look closely at large solid areas for streaks, banding, or missed spots, and confirm that any design elements near the edges are not clipped.
Step 5: Examine the Stitching
Turn the flag over and inspect the hems. Stitching should be straight and evenly spaced, with no loose threads, skipped sections, or puckering. Pay particular attention to the fly end, which takes the most stress in wind, and to the corners where grommets or sleeves are attached. On a rope-finished flag, tug gently on the rope and toggle to confirm the attachment is secure. Check that the header tape is fully stitched along both edges rather than spot-tacked.
Step 6: Verify Dimensions and Shape
Measure the hoist and the fly with a tape and compare the result to the size you ordered. Then check the corners for squareness by folding the flag diagonally or measuring both diagonals — they should be close to equal. A flag that is cut off-square will hang awkwardly and can wear unevenly at the fly end.
Step 7: Check Hardware and Finishing
Grommets should sit flat and secure in reinforced header tape, with no torn fabric around the ring. Roll each grommet between your fingers to confirm it is not loose. For sleeve finishes, check that the opening fits the pole diameter you intend to use. Confirm that any hook-and-loop, D-rings, or snap hooks are present, correctly positioned, and free of sharp edges that could abrade the fabric.
Step 8: Do a Display Test and Record Findings
Hoist one flag of each design on a frame or pole, even indoors. A short hang reveals print registration, twist, and balance problems that are hard to see on a table. Photograph every flag flat, plus close-ups of hems, grommets, and any defect, and note the quantity affected. Store the documentation with your order paperwork.
What to Do If You Find a Problem
- Quarantine the affected flags and do not put them into service.
- Record the order number, item, size, and number of units affected.
- Take clear photos in daylight, including one wide shot for context.
- Contact your supplier promptly and within any inspection window stated in your agreement.
- Keep the packaging until the issue is resolved.
Building the Habit
A repeatable inspection routine protects both buyers and suppliers. Keep a printed copy of this flag inspection checklist in your receiving area, assign one person to sign off on each delivery, and file the photos with the order. Running the same eight steps on every shipment turns a vague sense that something feels off into specific, actionable information — and makes the next order easier to get right.
Email: flagswin@flag-win.vip
WhatsApp: +86 13031678795
Facebook: https://www.facebook.com/StarFlagFactory/
Alibaba.com: https://wfqyflag.en.alibaba.com/
