

Flag Guide
Flag Sewing and Edge Finishing Explained: Hemming, Reinforcement, and Header Construction
Sep
Why Hemming, Reinforcement, and Header Construction Determine How a Flag Performs
An outdoor flag mounted on a flagpole takes constant wind exposure over the long term. The force of the wind does not hit the center of the flag first; it hits the edges and corners on the pole side. The edges get rubbed and slapped repeatedly, and the corners get pulled in one direction. Many flags do not “fail” because the fabric tears, but because the stitching opens up, the edges unravel, or the header rips. That is why the core of flag sewing and edge finishing comes down to three things: finish the edges cleanly, reinforce the stress points properly, and build the header into a structure that truly carries the load. This article follows those three threads and walks through the common methods and where each one applies.
1. Hemming and Edge Finishing: Three Main Approaches
1. Folded Hem (Turned-Under Hem)
The edge of the fabric is folded inward once or twice and then secured with stitching. This is the most common edge finish and is typically used on the top and bottom edges and the fly end of a flag. A single fold is lighter and cleaner-looking, while a double fold gives a thicker edge and makes yarns far less likely to pull out. In practice, a double-needle stitch is often used so that the folded edge forms an internal “pocket” that reduces the chance of the edge being lifted open by wind. Synthetic fabrics such as polyester and nylon are usually hot-cut before folding so the cut edge is sealed, then folded and stitched.
2. Binding (Bound Edge, Trim)
A separate strip of fabric wraps completely around the edge of the flag and is then stitched down. The advantage of binding is that the edge gets an extra layer of material protection and a cleaner visual outline. It suits flags, table runners, advertising banners, and any case where you want a contrasting color along the edge. The material, width, and tension of the binding tape need to match the flag body: too narrow and it does not wrap enough, too wide and the edge becomes heavy and visibly droops. Binding usually requires a special presser foot or dedicated equipment, making it a more labor-intensive and relatively more expensive edge finish.
3. Overlock (Serging) and Hot-Cut Sealing
Overlocking uses serger thread to lock the edge yarns and prevent unraveling; hot-cutting uses a high-temperature blade to cut and seal the edge in one pass. Both are simple processes suited to short-term use, indoor display, or cost-sensitive projects such as single-use decorative flags for events. If a flag will be flown outdoors in the wind for the long term, overlocking alone is usually not as durable as a folded hem, so it is generally combined with folding.
How to Choose
- Outdoor flagpoles, long-term flying: Prioritize a double-fold hem or binding for a thick, abrasion-resistant edge.
- Indoor, trade show, or short-term event use: Overlocking or hot-cut sealing is sufficient.
- Contrasting outline or high visibility: Binding has the visual advantage.
2. Reinforcement: Put Material Where the Load Is
Edge finishing answers “will the edge unravel,” while reinforcement answers “where will it tear first.” The common reinforcement points are as follows.
1. Reinforced Pole Side
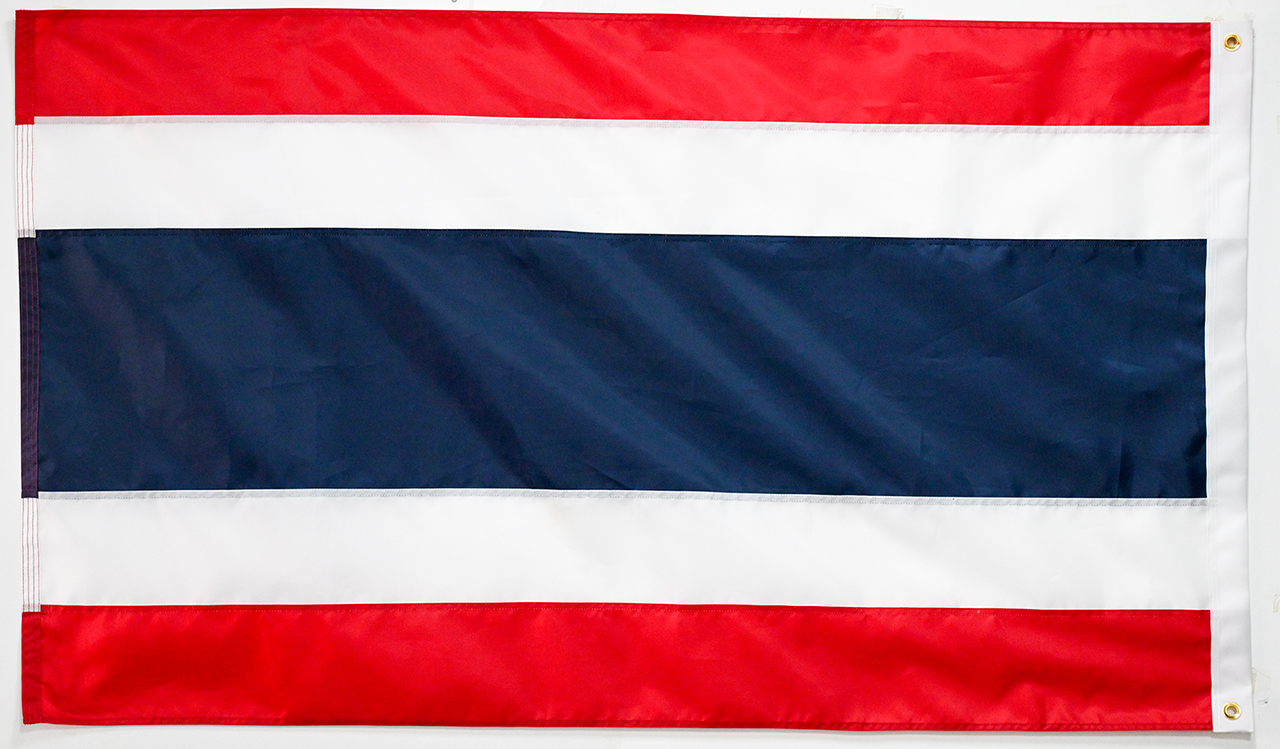
The pole side (commonly called the header position) is the single edge where the load on the whole flag concentrates. A common approach is to add a reinforced backing strip or a sturdy band along this side and stitch it to the flag body, transferring the pull from the fabric to the stronger band. For large-format flags, this side is often built as a double-layer structure.
2. Corner Reinforcement
The two corners of the fly end and the two corners on the pole side are where stress concentrates. Common treatments include stitching in triangular reinforcement patches, bar-tacking the corners, or sewing on small reinforcement patches. These treatments are inexpensive but noticeably reduce corner tearing.
3. Backstitching and Bar Tacks
Backstitching or bar-tacking at grommets, ties, and rope attachment points creates a denser, stronger load-bearing block of stitching at those spots. This matters especially around grommets: if only a plain stitch is used, the metal hardware shifting in the wind will gradually “bite” through the thread.
3. Header Construction: How the Flag Connects to the Pole
The “header” refers to the whole structure that connects the flag to the flagpole. Different pole types call for different approaches.
1. Pole Sleeve (Flagpole Sleeve)
A tubular channel is folded along the pole side, and the pole passes through it. The inner diameter of the sleeve should be slightly larger than the pole diameter: too tight and it is hard to slide on, too loose and the flag slides and swings on the pole. The top and bottom ends of the sleeve usually need backstitching reinforcement to keep the openings from being stretched out. This structure is common on indoor stand flags and garden flagpoles.
2. Ties and Ropes
Several ties or ropes are sewn along the pole side and tied directly to the flagpole. This approach adapts well to different pole thicknesses and suits situations where the pole has a crossbar at the top or the pole cannot take a sleeve. The attachment positions, lengths, and spacing of the ties need to match the pole dimensions, and the base of each tie is generally backstitched for reinforcement.
3. Metal Grommets and D-Rings
A dedicated reinforcement band (commonly called a header tape) is added along the pole side, then holes are punched and metal grommets installed, or D-rings are used to connect hooks and rope. This structure is common on outdoor flagpoles with halyards: easy to replace and with a clear load path. The number and position of grommets are determined by flag size and hanging method, and after punching, the hole walls need binding or heat sealing to prevent tearing from starting at the grommet edge.
4. Thread and Stitch Length: Details That Are Easy to Overlook
Thread material should match the fabric; synthetic fabrics are usually paired with polyester thread, since the two are closer in stretch behavior. Stitches that are too sparse leave gaps and are easily lifted by wind; stitches that are too dense can create a “perforation line” in the fabric and actually reduce strength. In standard flag production, edge seams generally use a relatively dense stitch length, and stress points are finished with backstitching rather than simply cut off. Thread color usually matches the flag body; if a contrasting color is used as a design element, it should be confirmed in advance.
5. Choosing Construction by Use Case
- Long-term outdoor flying: Double-fold hem or binding + reinforced pole side + grommet or tie reinforcement.
- Indoor display, showroom: Single-fold hem + pole sleeve, balancing appearance and cost.
- Events and festivals, short-term use: Overlocking or hot-cut sealing, with simplified processing.
- Advertising banners, fencing: Binding on all four sides + bar-tacked corners + grommets, for easy tensioning and securing.
Conclusion
Hemming, reinforcement, and header construction may look like minor “edge and corner” work, but they directly determine how a flag performs in real use. When ordering custom flags, telling the manufacturer your hanging method, use environment, and expected service life so the production side can match the right edge finish and header solution is usually more meaningful than comparing unit prices alone. If you are preparing a custom flag project, feel free to send us your dimensions, artwork, and use case, and we can confirm the right sewing and reinforcement plan together.
