

Company News
The Custom Flag Sample Approval Process: From Sample Making to Mass Production
Sep
Why the Sample Stage Decides the Whole Order
Every custom flag order runs on the same principle: the sample is the contract. Once a physical sample is approved and signed off, it becomes the reference point that production is measured against. Skip the sample stage, or rush it, and a small misunderstanding about shade, size, or finishing can multiply across hundreds or thousands of units. The approval process exists to catch those misunderstandings while they are still cheap to fix.
This guide walks through the full path — from collecting your specifications to handing the approved sample over to the production floor.
Step 1: Lock Down the Specification Sheet
Before anyone cuts fabric or mixes ink, the order details need to be written down. A clear spec sheet should cover:
- Finished size — exact dimensions, plus whether that includes the header and hem
- Material — knit polyester, woven polyester, nylon, or another substrate suited to indoor or outdoor use
- Print method — dye sublimation, screen printing, or digital printing, chosen based on artwork complexity and quantity
- Construction — single-reverse or double-sided, header sleeve, grommets, rope, or D-rings, and reinforcement at the fly end
- Color references — Pantone numbers, CMYK values, or physical color chips wherever possible
- Finishing and packaging — folding, individual poly bags, retail boxes, or bulk cartons
Getting this on one page prevents most of the back-and-forth later. If your artwork has fine detail, gradients, or small text, flag it now so the production team can advise on whether it will hold up at the finished size.
Step 2: The Digital Proof
The first deliverable is usually a digital proof — a virtual rendering showing layout, proportions, and placement. This is where you confirm that the logo sits where you expect, that the margins look balanced, and that nothing important lands on a seam or inside a hem.
Digital proofs are fast and free to revise, so use them aggressively. Check spelling, verify every color reference, and confirm the orientation of any reverse-side design. A correction made here costs nothing; the same correction after printing does not.
Step 3: Physical Sample Production
Once the digital proof is confirmed, a physical sample is produced using the same material, print method, and finishing steps intended for the bulk run. This is the important distinction: a sample made with a different process tells you very little about the final product.
A properly built sample should show the actual hem width, the actual header construction, the actual hardware, and the actual printed result on the actual fabric.
Step 4: The Sample Review Checklist
When the sample arrives, review it under both daylight and indoor lighting, and work through a consistent checklist:
- Color accuracy — compare against your reference chips, not against memory
- Dimensions — measure the finished flag, not the cut panel
- Print sharpness — check small text, thin lines, and edge definition
- Show-through — hold the flag up to light to see how much the reverse side bleeds through
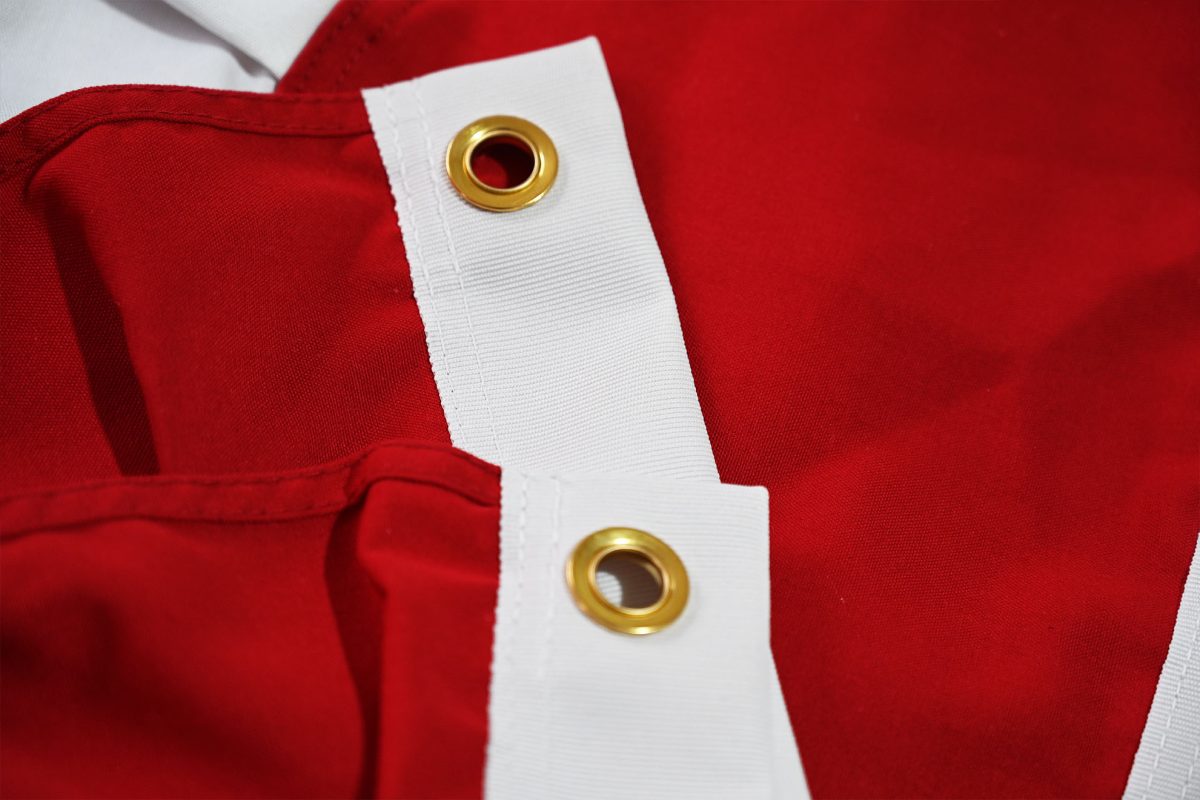
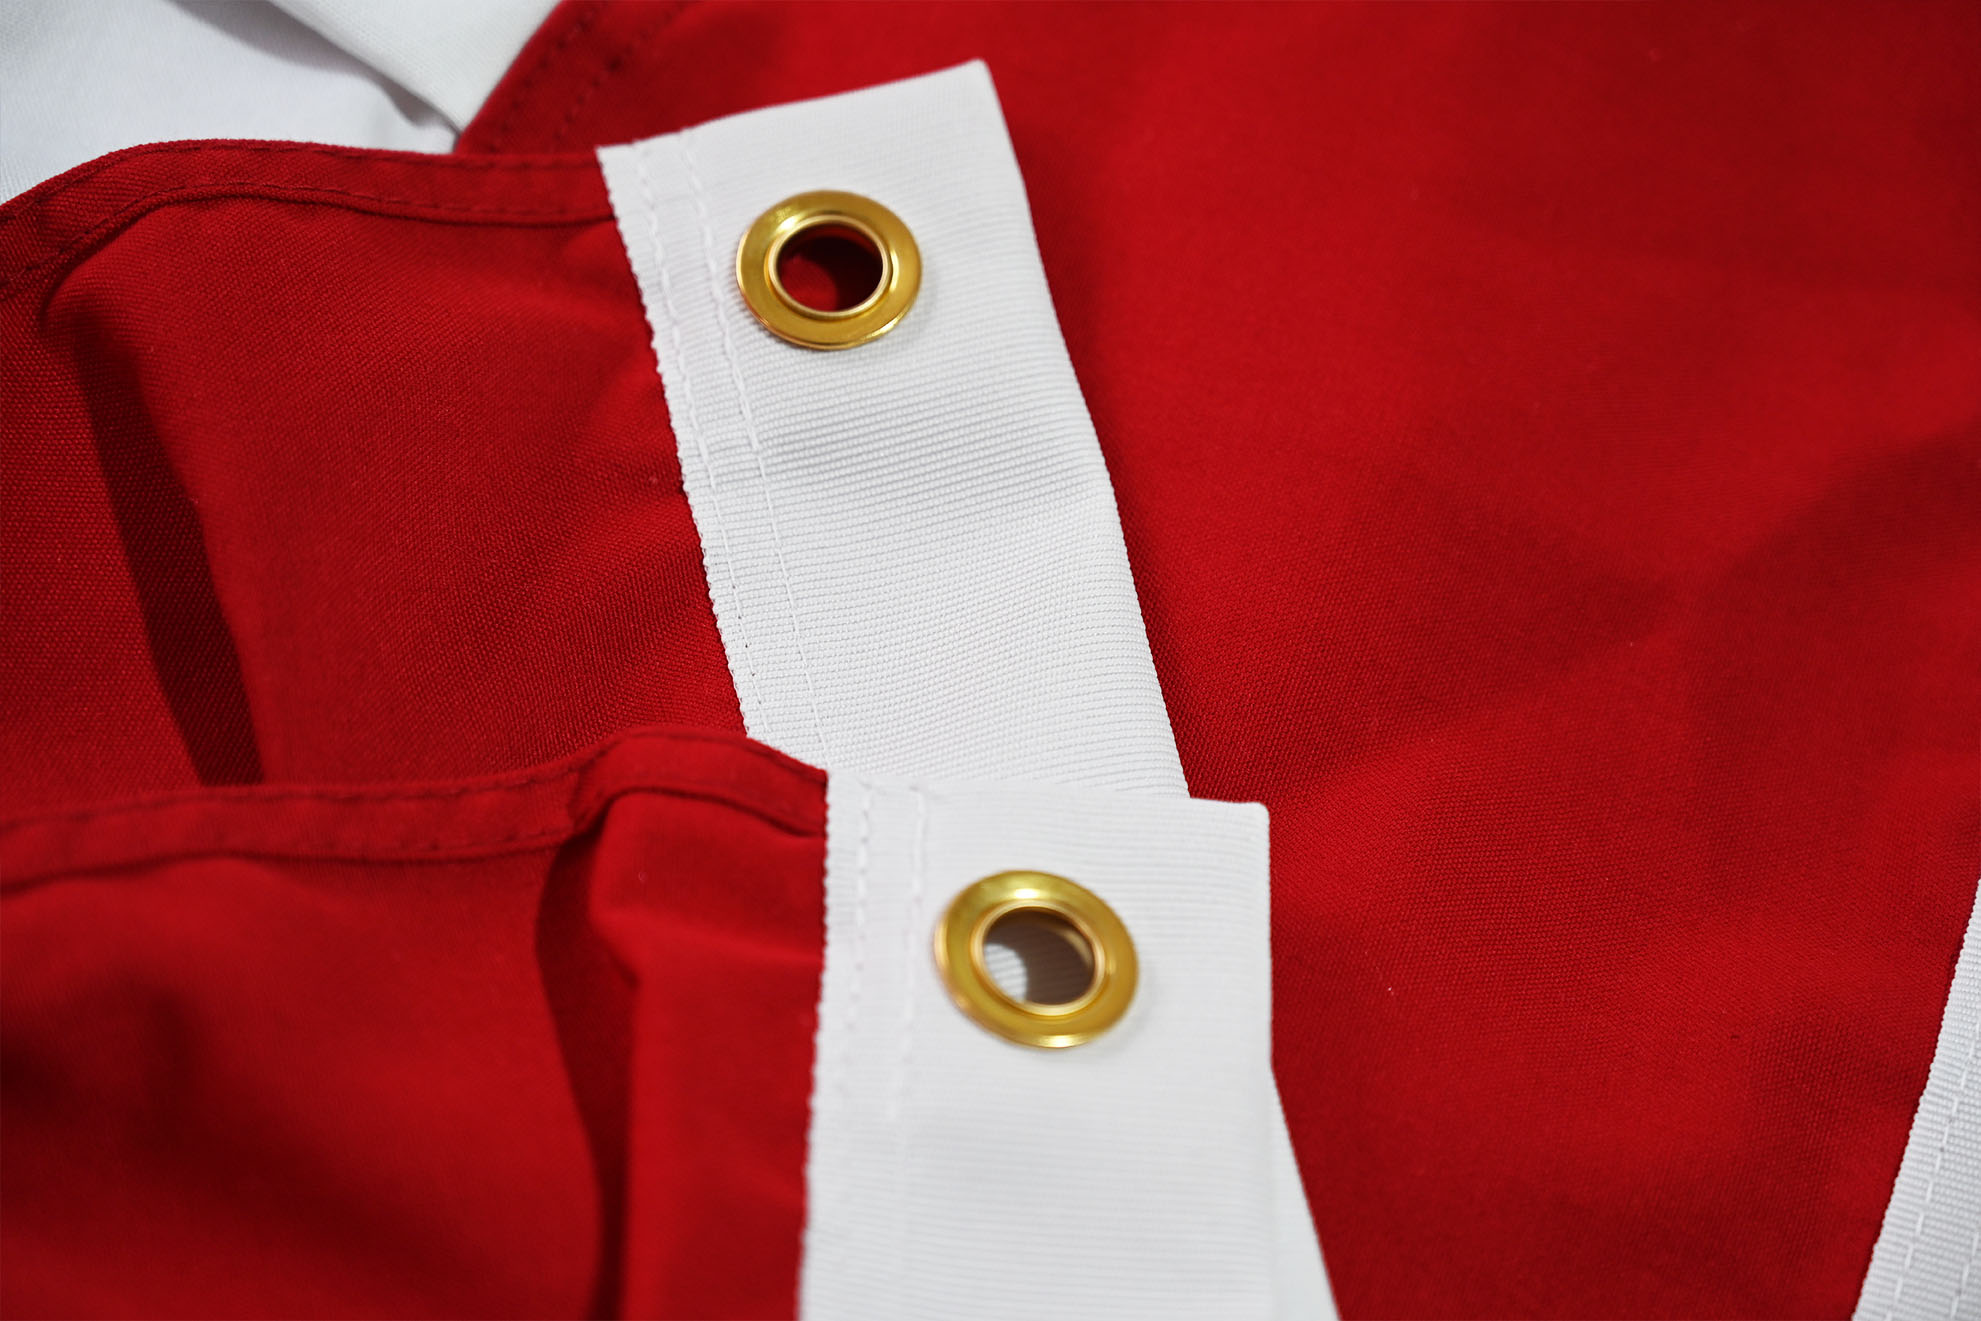
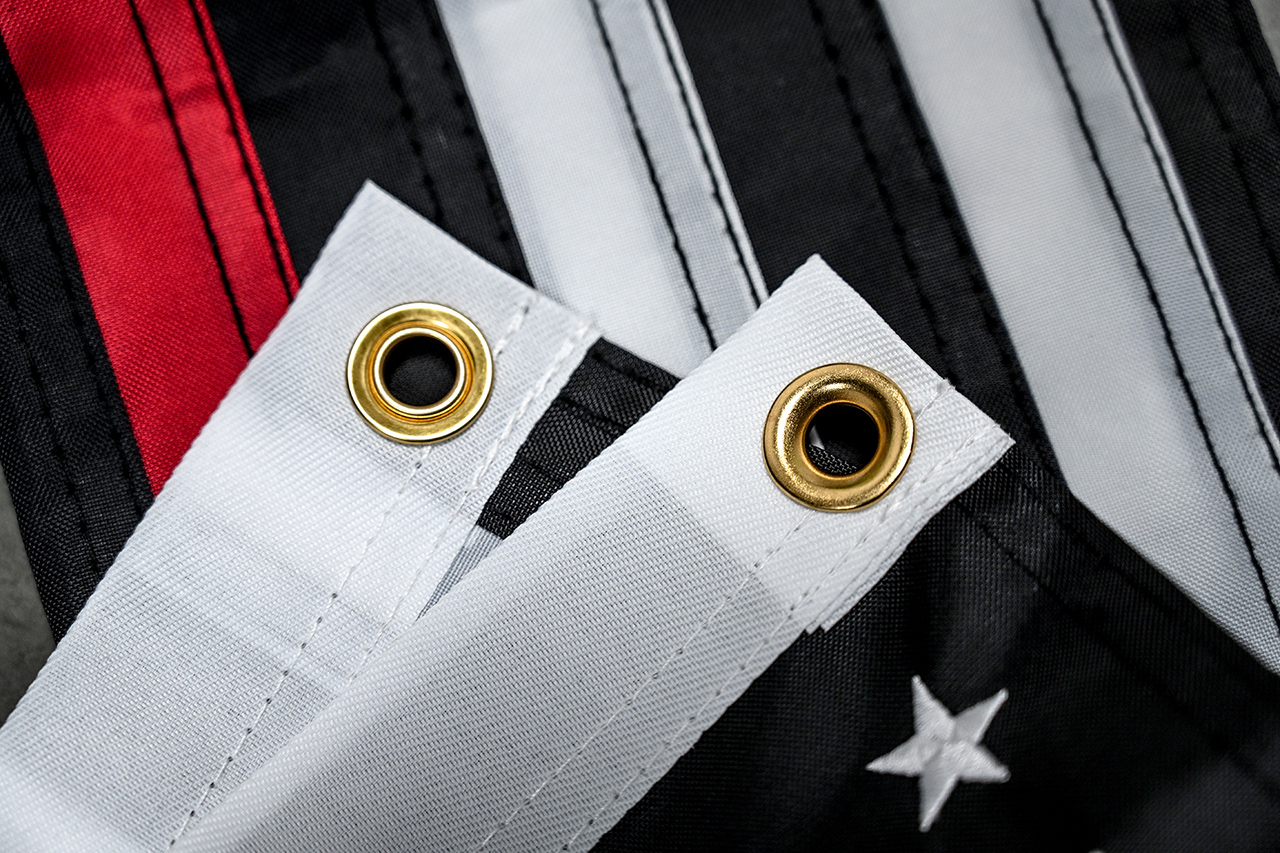
- Construction details — stitch density, hem evenness, grommet placement, and reinforcement
- Hand feel and drape — confirm the fabric weight behaves the way you expect in wind or in a display frame
- Hardware — confirm grommet finish, rope type, or attachment hardware matches the spec
Step 5: Approve, Revise, or Reject
There are three outcomes, and being specific about which one you are choosing keeps the project moving:
- Approve — the sample matches the spec and can move to production as-is
- Revise — list each change as a numbered item with a clear instruction, so nothing is open to interpretation
- Reject and restart — rare, but justified when the material or construction is fundamentally wrong for the application
Revision rounds are normal. One or two focused rounds usually resolve everything, provided feedback is consolidated into a single message rather than sent piecemeal over several days.
Step 6: Sign-Off and the Reference Sample
Approval should be given in writing — an email confirming “sample approved as submitted” is enough. At that point the approved piece becomes the reference sample, sometimes called the golden sample.
Two copies are worth keeping: one retained by the manufacturer for the production floor, and one kept by you. If a question comes up mid-run about a stitch type or a shade, the reference sample settles it in seconds rather than days.
Step 7: Handoff to Mass Production
With sign-off complete, the order moves into pre-production. This stage typically includes:
- Reserving material from a single lot so the bulk run stays visually consistent
- Translating the approved sample into production instructions for cutting, printing, and sewing
- Running the first units off the line and comparing them against the reference sample before continuing
That early comparison is the safety net. If something has drifted, it is caught after a handful of units rather than after the entire order is finished.
Step 8: Final Inspection and Shipping
Before packing, the finished goods are checked against the approved sample for size, construction, print placement, and hardware. Quantities are counted, packaging is confirmed against the spec, and the order is prepared for shipment with the agreed documentation.
Common Pitfalls to Avoid
- Approving a sample from a photo instead of handling the physical piece
- Changing artwork after approval without requesting a new sample
- Giving vague feedback such as “the red looks off” instead of citing a reference
- Assuming a rush schedule allows the sample stage to be skipped — it is usually the fastest route to a correct order
Frequently Asked Questions
Does every order require a physical sample?
For repeat orders using an existing approved reference sample, a new physical sample is often unnecessary. For first-time designs, new materials, or any change to construction, a physical sample is strongly recommended.
What if I only need a small quantity?
Small runs can sometimes proceed from a digital proof alone, but the trade-off is that construction and fabric details remain unverified until the finished goods arrive. If the flag is for a visible or long-term application, the sample is still worth the time.
How do I make approval faster?
Send complete specifications upfront, consolidate feedback into one numbered list, and nominate a single decision-maker on your side. Clear input at each stage is the main thing that shortens the timeline.
The sample approval process is not a formality — it is the point where your expectations and the production floor’s output are aligned. Treat the approved sample as the standard, and mass production becomes a matter of repetition rather than negotiation.
